
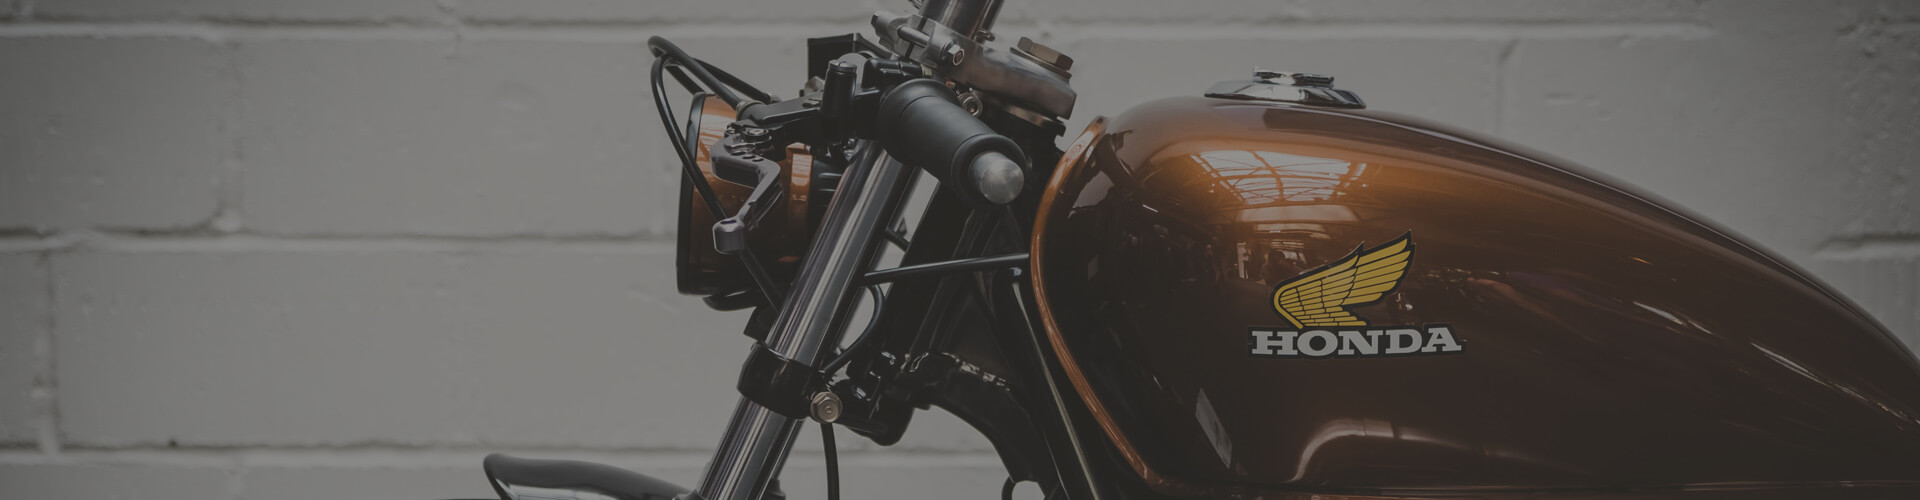
You know that your motorcycle is special, that it deserves all the care and attention. Decorating your motorbike with stickers is a great way to give it your personal touch and make it stand out from the rest. Today you will discover how to put motorcycle vinyl.
Some motorcycle-stickers consist of simple personal touches on very special parts. specific to the motorcycle such as mirrors or rims. Others are much larger and more visible and reflect the personality of the rider.
Motorcycle stickers are not difficult to apply and, in addition to being a good decorative element, they are also a useful resource to hide scratches and save you a visit to the workshop.
Years ago, if you wanted to customize your motorcycle, it was necessary to turn to a professional. Today, every motorcyclist can create their own motorcycle decals designs and apply them themselves, achieving amazing results without spending a fortune.
Here we explain it step by step so that your work has a professional finish. You dare?
How to put motorcycle vinyl
-
Cleaning and preparation
First of all, you must clean the surface where you are going to place the vinyl very well to prevent it from containing dust, dirt, grease residues or any other type of particles. You can use some cleaning products but you should avoid those that contain silicones or oils as these would greatly reduce the adherence of the adhesives. The most common is to use soap and water or alcohol and then dry it thoroughly with a soft cloth. A clean surface is essential for the sticker to adhere properly.
If you can, disassemble the piece on which you are going to place your stickers to be able to work better or assess whether it is worth disassembling any element of the motorcycle that could interfere with their placement.
-
Placing the vinyl and smoothing
With the surface clean, place the vinyl without removing the protective strip, so that you know what the correct position is and you can preview the final result.
Once you’ve decided on the final position of the sticker, it’s a good idea to secure it to the fairing with a piece of tape to prevent it from shifting while you work on it.
Now that you have your sticker positioned in its final place, it is time to remove its rear protective strip to more or less half of it, specifically up to the support adhesive tape that you had previously placed. Next, stick that end of the sticker to your motorcycle with the help of a plastic spatula, sliding it and gently pressing the sticker from its central part towards the end, avoiding any folds, bubbles or wrinkles that may have formed on the surface of the vinyl. .
Next, remove the rest of the backing from the adhesive and repeat the steps above to stick the other end of the sticker.
-
Apply heat
Now that you have your motorcycle sticker in place, it is time to apply heat to it with a heat gun or hair dryer. This will allow you to mold it and adapt it to all the curves and reliefs of your motorcycle. Start by applying heat in the center of the sticker and with the help of a spatula stretch it towards the ends.
Finally, remember that the secret is in the practice. When applying vinyl on your motorcycle for the first time, it is likely that the final result will not be the desired one and you will have to remove it to start over.
Now that you know how to apply motorcycle vinyl, don’t be discouraged as the end result is worth it. We certainly encourage you to give your motorcycle your personal touch!